
This post was imported from the Open Distro For Elasticsearch blog, a predecessor project of OpenSearch. Information reflected in this post may not be current or accurate.
Elasticsearch is an open source distributed search and analytics engine based on Apache Lucene. After adding your data to Elasticsearch, you can perform full-text searches on the data with all of the features you may expect: search by field, search multiple indices, boost fields, rank results by score, sort results by field, and aggregate results. You can also use Kibana to build visualizations for data in Elasticsearch.
In this blog post, I used the Index State Management (ISM) plugins in Open Distro for Elasticsearch, a fully Apache 2 licensed open source distribution of Elasticsearch, to define custom management policies to automate routine tasks and apply them to indices and index patterns. The ISM plugin provides an automated solution for repetitive index management tasks such as set up and management of external custom processes to run your index operations.
As I evaluated the ISM plugin in Open Distro for Elasticsearch, my goal was to find a solution for my customer’s challenge of managing time-series data. I was looking to maintain multiple indices for a diverse data workloads and set up an automated solution to periodically perform certain housekeeping index management functions. I prioritized new data over existing data. The housekeeping functions included marking the indices as read-only, reducing the segment count of the indices, closing these indices to improve performance and then deleting these indices when they are no longer needed.
Solution implemented
Elasticsearch can contain any number of indices. The data is unique to each index. I used the ISM plugin to define a lifecycle index management policy that has four states – read-only, force_merge, close and delete. Note that as a best practice, you should be setting your index to read_only before calling force_merge.
I installed Open Distro for Elasticsearch using a Docker image using directions from this blog post. There are several other download options supporting Open Distro as outlined here.
Once Open Distro for Elasticsearch is installed, the first step is to log in using the Kibana UI. See figure 1.
Figure 1: Login screen for Open Distro for Elasticsearch
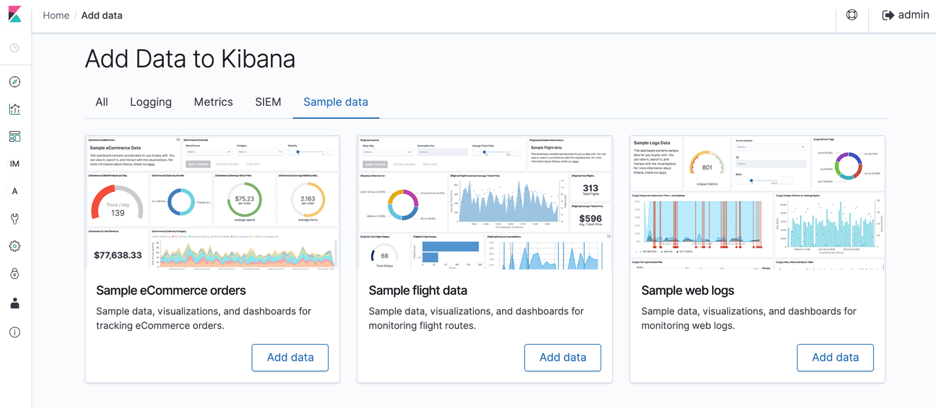
On Kibana’s splash page, choose to add the all the sample data listed in the screen by selecting Try our sample data and clicking on Add data. See figure 2.
Figure 2: Adding data using Kibana interface
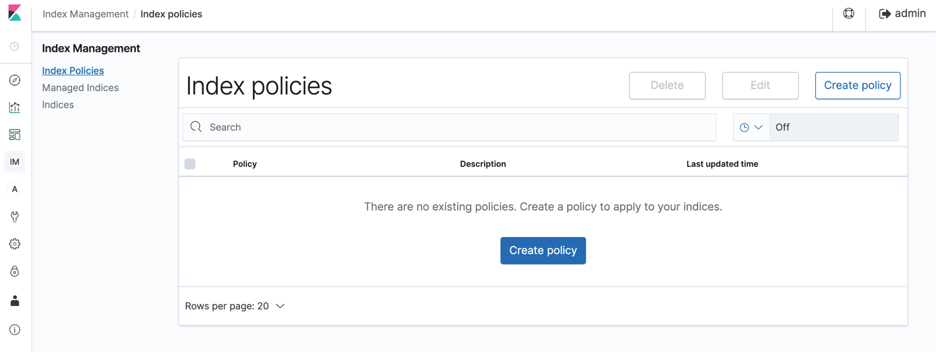
Once the data is added, switch to the Index Management tab which lands into the Index Policies page as shown in figure 3.
Figure 3: Index policies summary page
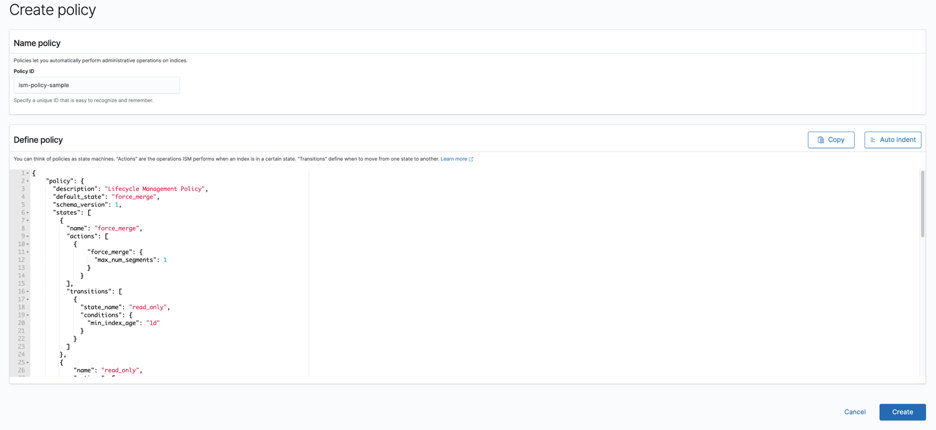
Click on Create Policy, enter a policy name and replace the default policy with the policy mentioned below. Don’t worry on the policy content yet, I will discuss about each section at a later point. See figure 4.
Figure 4: Policy creation page
This code block below describes the policy I created for this post.
{
    "policy": {
      "description": "Lifecycle Management Policy",
      "default_state": "force_merge",
      "states": [
        {
            "name": "read_only",
            "actions": [
                {
                    "read_only": {}
                  }
            ],
            "transitions": [
              {
                "state_name": "force_merge",
                "conditions": {
                  "min_index_age": "1d"
                }
              }
            ]
        },
        {
          "name": "force_merge",
          "actions": [
            {
                "force_merge": {
                  "max_num_segments": 1
                }
              }
          ],
          "transitions": [
            {
              "state_name": "close",
              "conditions": {
                "min_index_age": "2d"
              }
            }
          ]
        },
        {
            "name": "close",
            "actions": [
                {
                    "close": {}
                  }
            ],
            "transitions": [
              {
                "state_name": "delete",
                "conditions": {
                  "min_index_age": "3d"
                }
              }
            ]
        },
        {
          "name": "delete",
          "actions": [
            {
              "notification": {
                "destination": {
                  "chime": {
                    "url": "<CHIME_WEBHOOK_URL>"
                  }
                },
                "message_template": {
                  "source": "The index  is being deleted because of actioned policy "
                }
              }
            },
            {
              "delete": {}
            }
          ]
        }
      ]
    }
  }
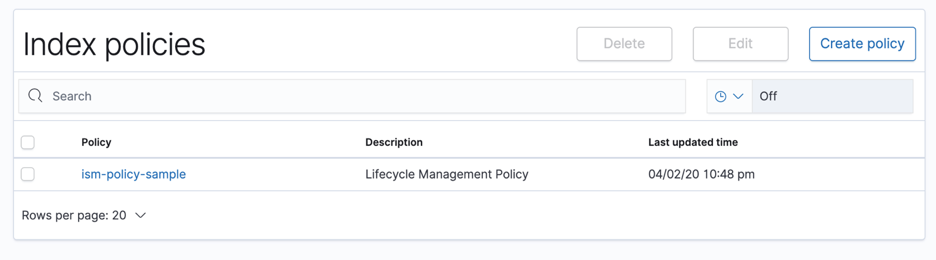
Click Create to save the policy. I named the policy as “ism-policy-sample” as seen in figure 5.
Figure 5: Index policies summary page
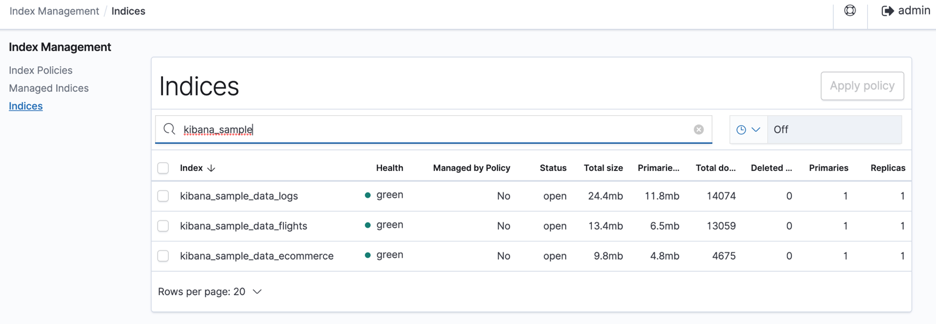
Next, navigate to the Indices tab and search for the kibana-sample indices keyword which should list all the sample data indices which was added earlier. See figure 6.
Figure 6: Indices summary page
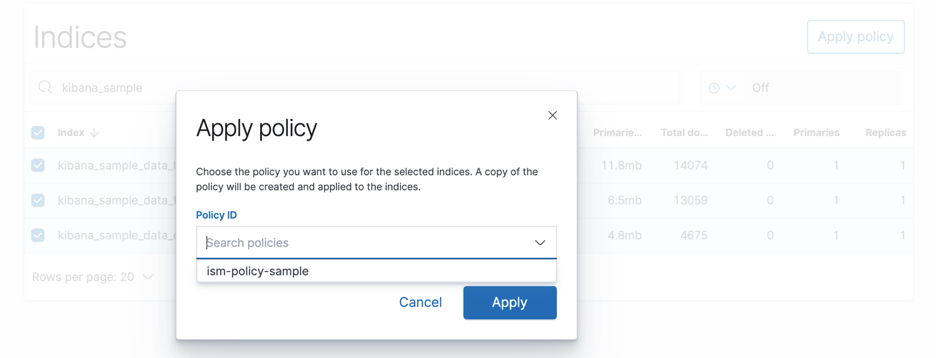
Choose all the indices and select Apply Policy.
From the Policy ID dropdown, select the policy created in the previous step and click on Apply as seen in figure 7.
Figure 7: Policy creation confirmation page
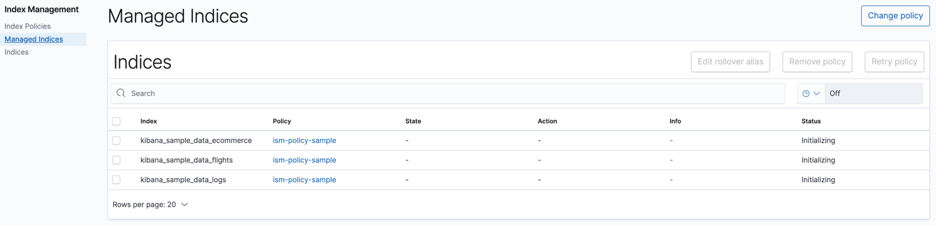
The policy is now assigned and starts managing the indices. Navigate to the Managed Indices tabs and observe the status as Initializing as seen in figure 8.
Figure 8: Managed indices summary page
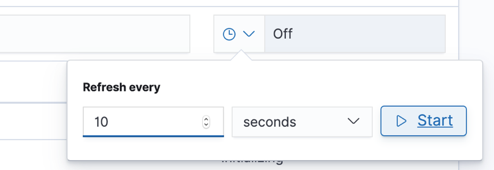
The pane also provides an option to set a refresh frequency to refresh the managed indices status information as seen in figure 9.
Figure 9: Refresh frequency settings
Demystifying the policy
Let me explain about the index policy tenets and how they are structured.
Policies are JSON documents that defines –
* the states that an index can be in
* any actions that you want the plugin to take when an index enters the state
* conditions that must be met for an index to move or transition into a new state
The policy document begins with basic metadata like description, default_state that the index should enter, and finally a series of state definitions.
Let me start defining the first state – read_only. In this state, the managed indices will be set to read_only and the transition will move to force_merge state after one day.
{
  "name": "read_only",
  "actions": [
      {
          "read_only": {}
        }
  ],
  "transitions": [
    {
      "state_name": "force_merge",
      "conditions": {
        "min_index_age": "1d"
      }
    }
  ]
}
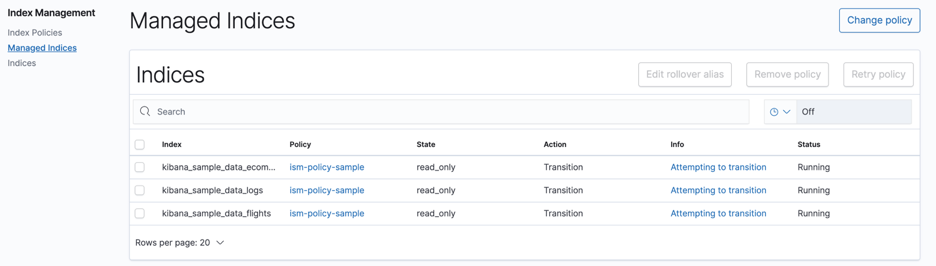
Let us quickly verify from the console. The current state is read_only and the transitions to force_merge after one day. See figure 10.
Figure 10: Managed indices summary at the first state
The force_merge action defined will compress the indices segments. Transitions define the conditions that need to be met for a state to change, which in my case, is close state once the index crosses 24 hours.
{
  "name": "force_merge",
  "actions": [
    {
        "force_merge": {
          "max_num_segments": 1
        }
      }
  ],
  "transitions": [
    {
      "state_name": "close",
      "conditions": {
        "min_index_age": "2d"
      }
    }
  ]
}
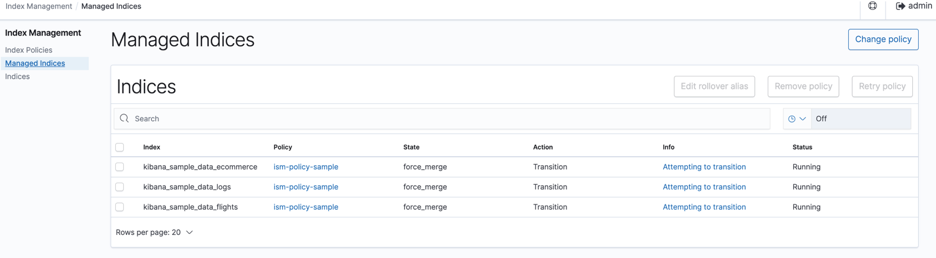
Verify the status of the managed indices at this stage again. See figure 11.
Figure 11: Managed indices summary at this state
Note that closed indices remain on disk, but do not consume any CPU or memory. I can’t read from, write to, or search closed indices. If I need to use a closed index again, reopening the closed index is simpler than restoring the index from a snapshot.
The action defines the indices to be in a closed state for a day and then transitions them to a final delete state when the index age is three days old.
{
  "name": "close",
  "actions": [
      {
          "close": {}
        }
  ],
  "transitions": [
    {
      "state_name": "delete",
      "conditions": {
        "min_index_age": "3d"
      }
    }
  ]
}
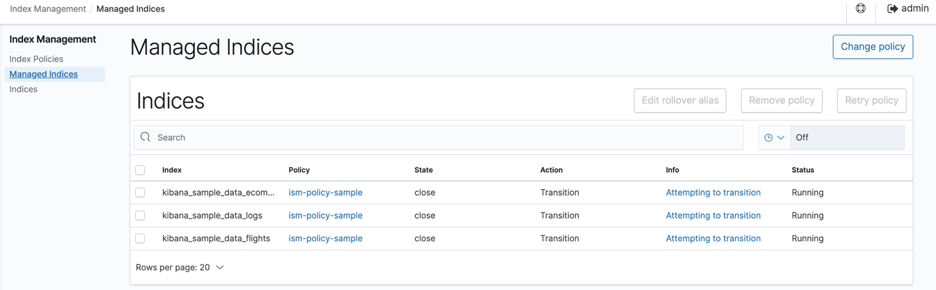
The status of the indices in this state can be verified again. See figure 12.
Figure 12: Managed indices summary at this state
Notice that the delete state has two actions defined. The first action is self-explanatory, sends a notification as defined in the message_template to the destination.
{
  "name": "delete",
  "actions": [
    {
      "notification": {
        "destination": {
          "chime": {
            "url": "<CHIME_WEBHOOK_URL>"
          }
        },
        "message_template": {
          "source": "The index  is being deleted because of actioned policy "
        }
      }
    },
    {
      "delete": {}
    }
  ]
}
I have configured the notification endpoint to be on Amazon Chime CHIME_WEBHOOK_URL. More information on using webhooks for Amazon Chime can be found here.
At this state, I have received the notification on the Chime webhook as seen in the figure below.
Figure 13: Chime webhook notifications

Below is the status from the console. See figure 14.
Figure 14: Final status of the managed indices
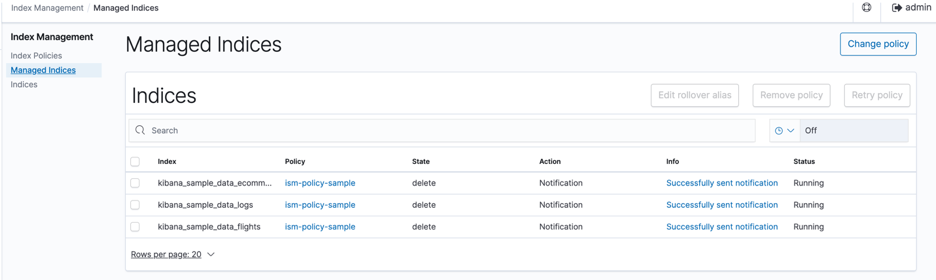
Once the notification is successfully sent, the policy executes the next action in the state which is deleting the indices. After this final state, the indices will no longer appear in the Managed Indices section.
Conclusion
Hopefully this blog post provided you an understanding of how-to use the index state management plugin in Open Distro for Elasticsearch. My walkthrough of how indices can be managed using this plugin with a sample life-cycle policy.
Check out the full documentation for the index state management plugin here. If you need enhancements or have other feature requests, feel free to file an issue here. Also check out the contribution guidelines here to get more involved in the project.
A big takeaway for me as I evaluated the ISM plugin in Open Distro was that the index state management plugin is fully compatible and works on the Amazon Elasticsearch Service. This is very useful for using Open Distro for Elasticsearch as a on-premise or internal solution while leveraging a managed service for your production workloads. If you are using hybrid environments, you can learn more here about how this index state management functionality works on the managed service.
Special thanks to Alolita Sharma, Sriram Kosuri and Drew Baugher from the ISM search engineering team for their help on this post.