You're viewing version 2.4 of the OpenSearch documentation. This version is no longer maintained. For the latest version, see the current documentation. For information about OpenSearch version maintenance, see Release Schedule and Maintenance Policy.
Working with detectors
After creating a detector, it appears on the Threat detectors page along with others saved to the system. You can then perform a number of actions for each detector, from editing its details to changing its status. See the following sections for description of the available actions. 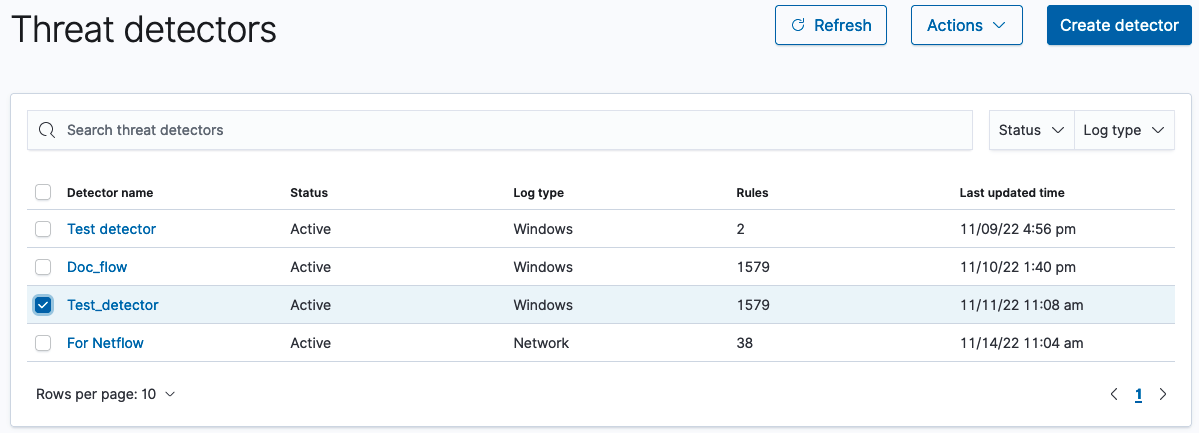
Threat detector list
The list of threat detectors includes the search bar, the Status dropdown menu, and the Log type dropdown menu.
- Use the search bar to filter by detector name.
- Select the Status dropdown menu to filter detectors in the list by Active and Inactive status.
- Select the Log type dropdown menu to filter detectors by any log type that appears in the list (the options depend on the detectors present in the list and their log types).
Editing a detector
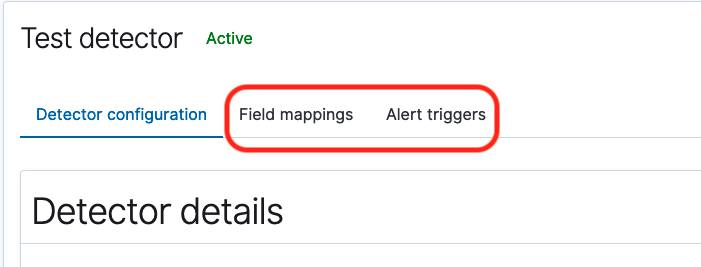
To edit a detector, begin by selecting the link to the detector in the Detector name column of the list. The detector’s details window opens and shows details about the detector’s configuration. 
- In the upper-left portion of the window, the details window shows the name of the detector and its status, either Active or Inactive.
- In the upper-right corner of the window, you can select View alerts to go to the Alerts window or View findings to go to the Findings window. You can also select Actions to perform actions for the detector. See Detector actions.
- In the lower portion of the window, select the Edit button for either Detector details or Detection rules to make changes accordingly.
- Finally, you can select the Field mappings tab to edit field mappings for the detector, or select the Alert triggers tab to make edits to alerts associated with the detector.
Detector actions
Threat detector actions allow you to stop and start detectors or delete a detector. To enable actions, first select the checkbox beside one or more detectors in the list. 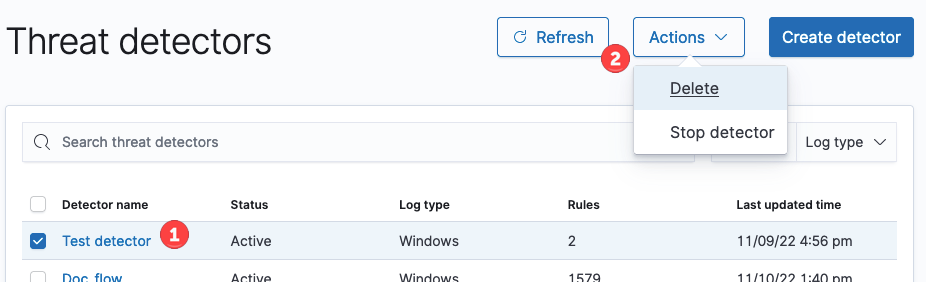
Changing detector status
- Select the detector or detectors in the list whose status you would like to change. The Actions dropdown menu becomes enabled.
- Depending on whether the detector is currently active or inactive, select either Stop detector or Start detector. After a moment, the change in status of the detector appears in the detector list as either Inactive or Active.
Deleting a detector
- Select the detector or detectors in the list that you would like to delete. The Actions dropdown menu becomes enabled.
- Select Delete in the dropdown menu. The Delete detector popup window opens and asks you to verify that you want to delete the detector or detectors.
- Select Cancel to decline the action. Select Delete detector to delete the detector or detectors permanently from the list.