Creating correlation rules
Correlation rules allow you to define threat scenarios involving multiple systems in an infrastructure by matching the signatures of threat events occurring in different log types. Once a rule contains at least two different log sources and the preferred fields and field values that define an intended threat scenario, the correlation engine can query the indexes specified in the correlation rule and identify any correlations between the findings.
Configuring rules
Having at least two data sources in the rule configuration is the basis for making connections between different systems in an infrastructure and identifying correlations. Therefore, a minimum of two queries is required for each correlation rule. However, you can include more than two queries to better define a threat scenario and look for correlations between multiple systems. Follow these steps to create a correlation rule:
-
Begin by selecting Security Analytics in the OpenSearch Dashboards main menu. Then select Correlation rules from the Security Analytics menu on the left side of the screen. The Correlation rules page is displayed, as shown in the following image.
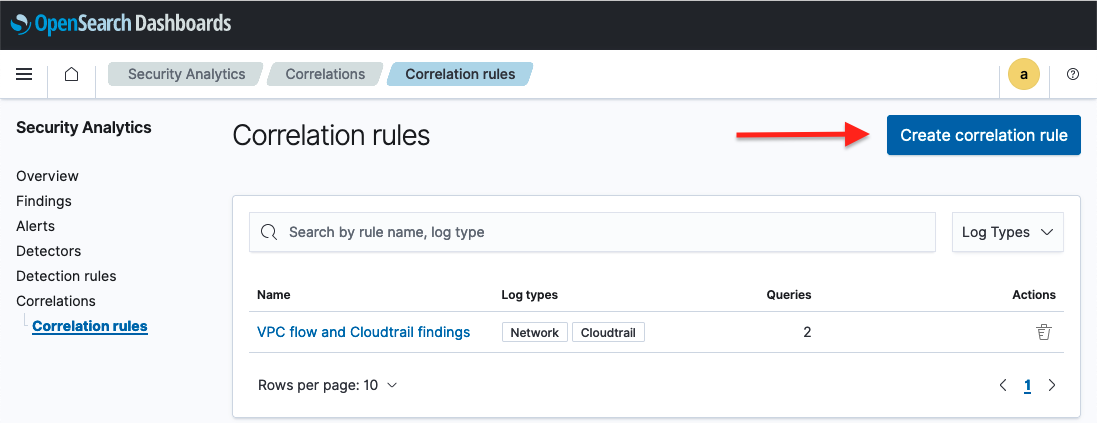
- Select Create correlation rule. The Create correlation rule window opens.
-
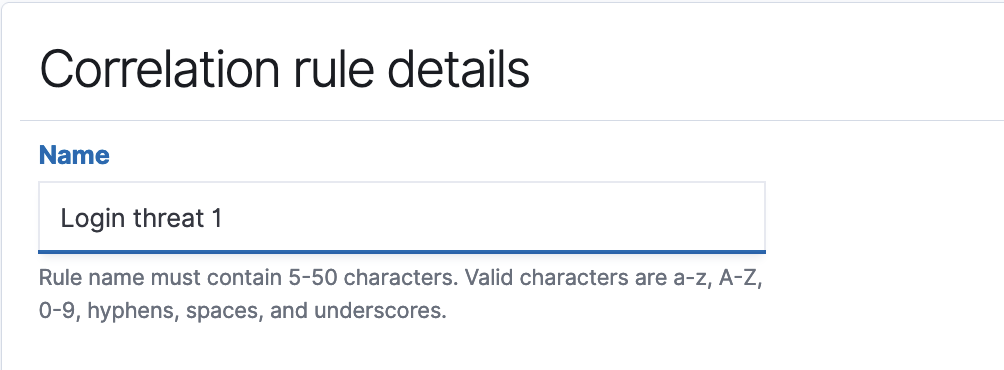
In the Correlation rule details field, enter a name for the rule, as shown in the following image.
-
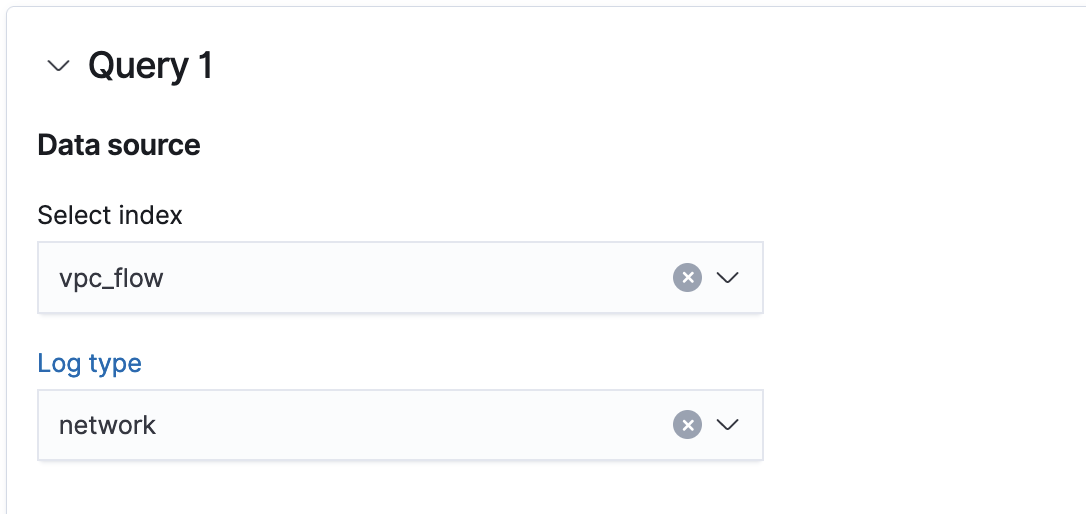
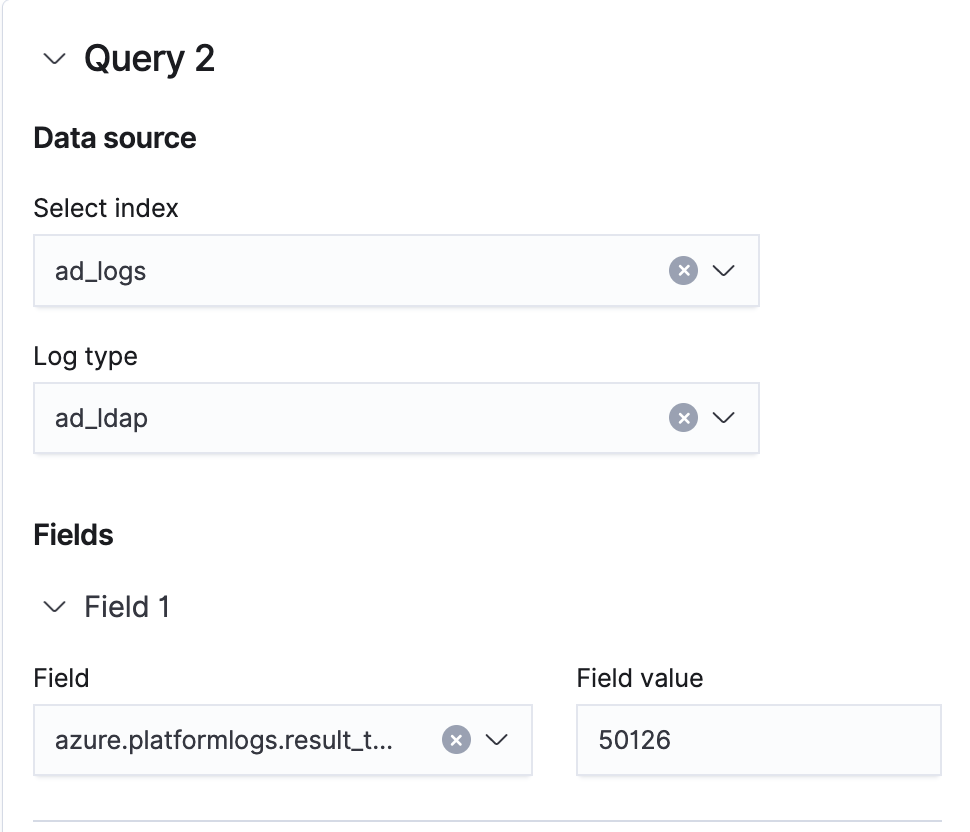
The Correlation queries field contains two dropdown lists. In the Select index dropdown list, specify an index or index pattern for the data source. In the Log type dropdown list, specify the log type associated with the index, as shown in the following image.
-
In the Field dropdown list, specify a log field. In the Field value text box, enter a value for the field, as shown in the following image.
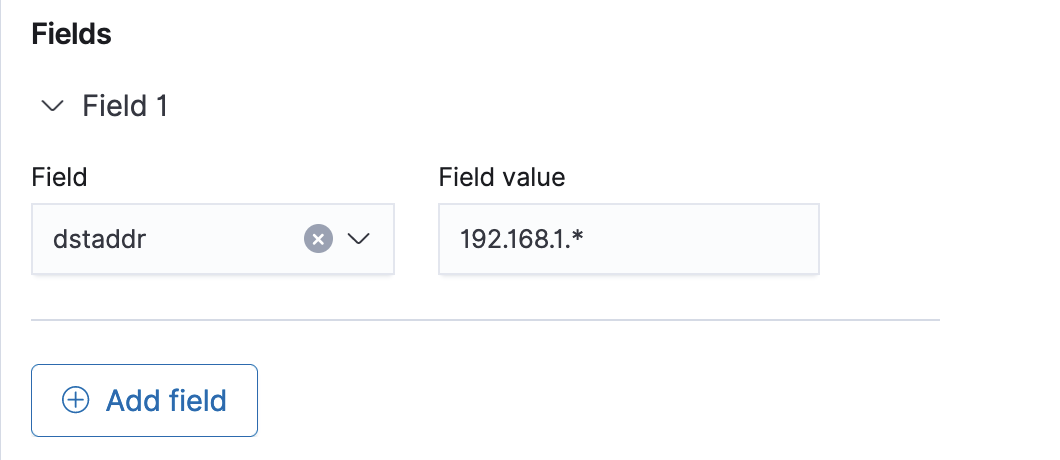
- To add more fields to the query, select Add field.
-
After configuring the first query, repeat the previous step to configure a second query. You can select Add query at the bottom of the window to add more queries for the rule, as shown in the following image.
- Once the rule is complete, select Create correlation rule in the lower-right corner of the window. OpenSearch creates a new rule, the screen returns to the Correlation rules window, and the new rule appears in the table of correlation rules. To edit the rule, select the rule name in the Name column. The Edit correlation rule window opens.
Setting a time window
The Cluster Settings API allows you to correlate findings within a set time window. For example, if your time window is three minutes, the system attempts to correlate findings defined in the threat scenario only when they occur within three minutes of one another. By default, the time window is five minutes. For more information about the Cluster Settings API, see Cluster settings.
Example request
The following PUT call sets the time window to two minutes:
PUT /_cluster/settings
{
  "transient": {
    "plugins.security_analytics.correlation_time_window": "2m"
  }
}
Next steps
After creating detectors and correlation rules, you can use the correlation graph to observe the correlations between findings from different log sources. For information about working with the correlation graph, see Working with the correlation graph.