Note that machine learning models are probabilistic and that some may perform better than others, so the OpenSearch Assistant may occasionally produce inaccurate information. We recommend evaluating outputs for accuracy as appropriate to your use case, including reviewing the output or combining it with other verification factors.
OpenSearch Assistant for OpenSearch Dashboards
Introduced 2.13
The OpenSearch Assistant toolkit helps you create AI-powered assistants for OpenSearch Dashboards without requiring you to have specialized query tools or skills.
Enabling OpenSearch Assistant
To enable OpenSearch Assistant in OpenSearch Dashboards, locate your copy of the opensearch_dashboards.yml file and set the following option:
assistant.chat.enabled: true
Then configure the root agent_id through the following API:
PUT .plugins-ml-config/_doc/os_chat
{
    "type":"os_chat_root_agent",
    "configuration":{
        "agent_id": "your root agent id"
    }
}
For more information about configuring the root agent, see the Build your own chatbot tutorial.
This example shows a system index. In security-enabled domains, only super admins have permission to execute this code. For information about making super admin calls, see the System indexes guide. For access permission, contact your IT administrator.
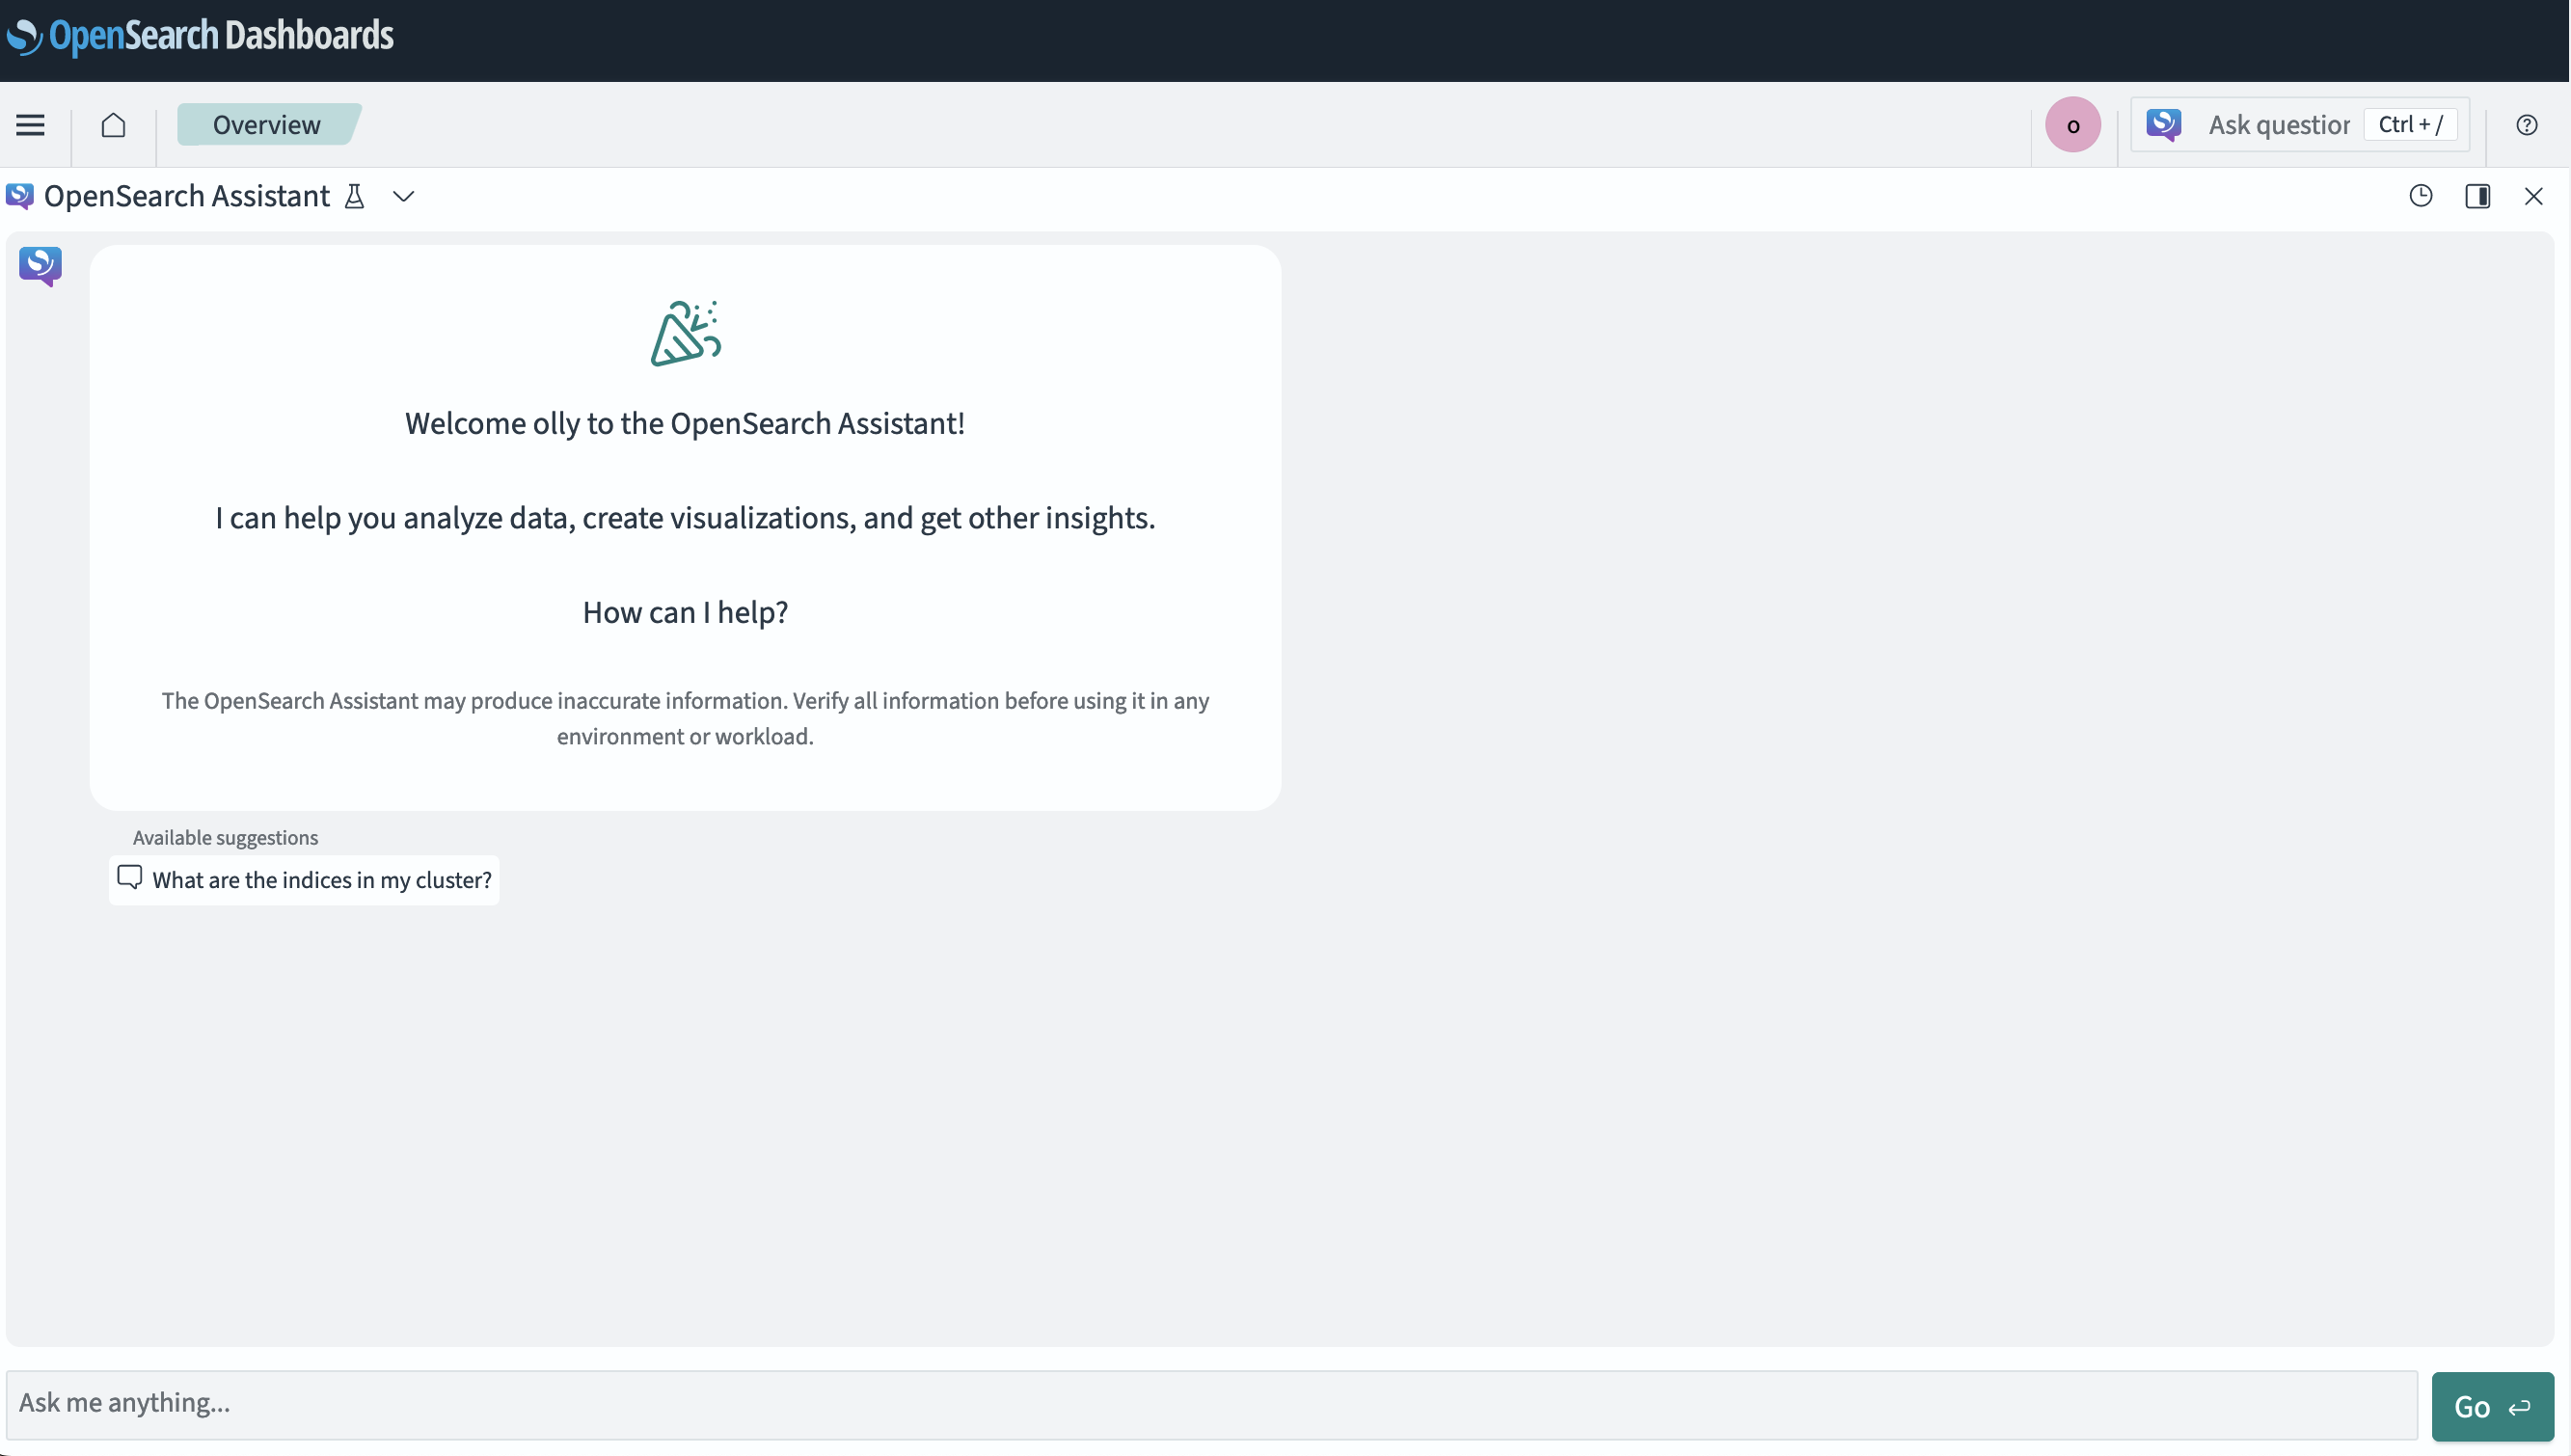
Next, restart the OpenSearch Dashboards server. Following a successful restart, OpenSearch Assistant appears in the OpenSearch Dashboards interface.
A screenshot of the interface is shown in the following image.
Configuring OpenSearch Assistant
You can use the OpenSearch Dashboards interface to configure OpenSearch Assistant. Go to the Getting started guide for step-by-step instructions. For the chatbot template, go to the Flow Framework plugin documentation. You can modify this template to use your own model and customize the chatbot tools.
For information about configuring OpenSearch Assistant through the REST API, see OpenSearch Assistant Toolkit.
Using OpenSearch Assistant in OpenSearch Dashboards
The following tutorials guide you through using OpenSearch Assistant in OpenSearch Dashboards. OpenSearch Assistant can be viewed in full frame or in the sidebar. The default view is in the right sidebar. To view the assistant in the left sidebar or in full frame, select the ![]() icon in the toolbar and choose the preferred option.
icon in the toolbar and choose the preferred option.
Start a conversation
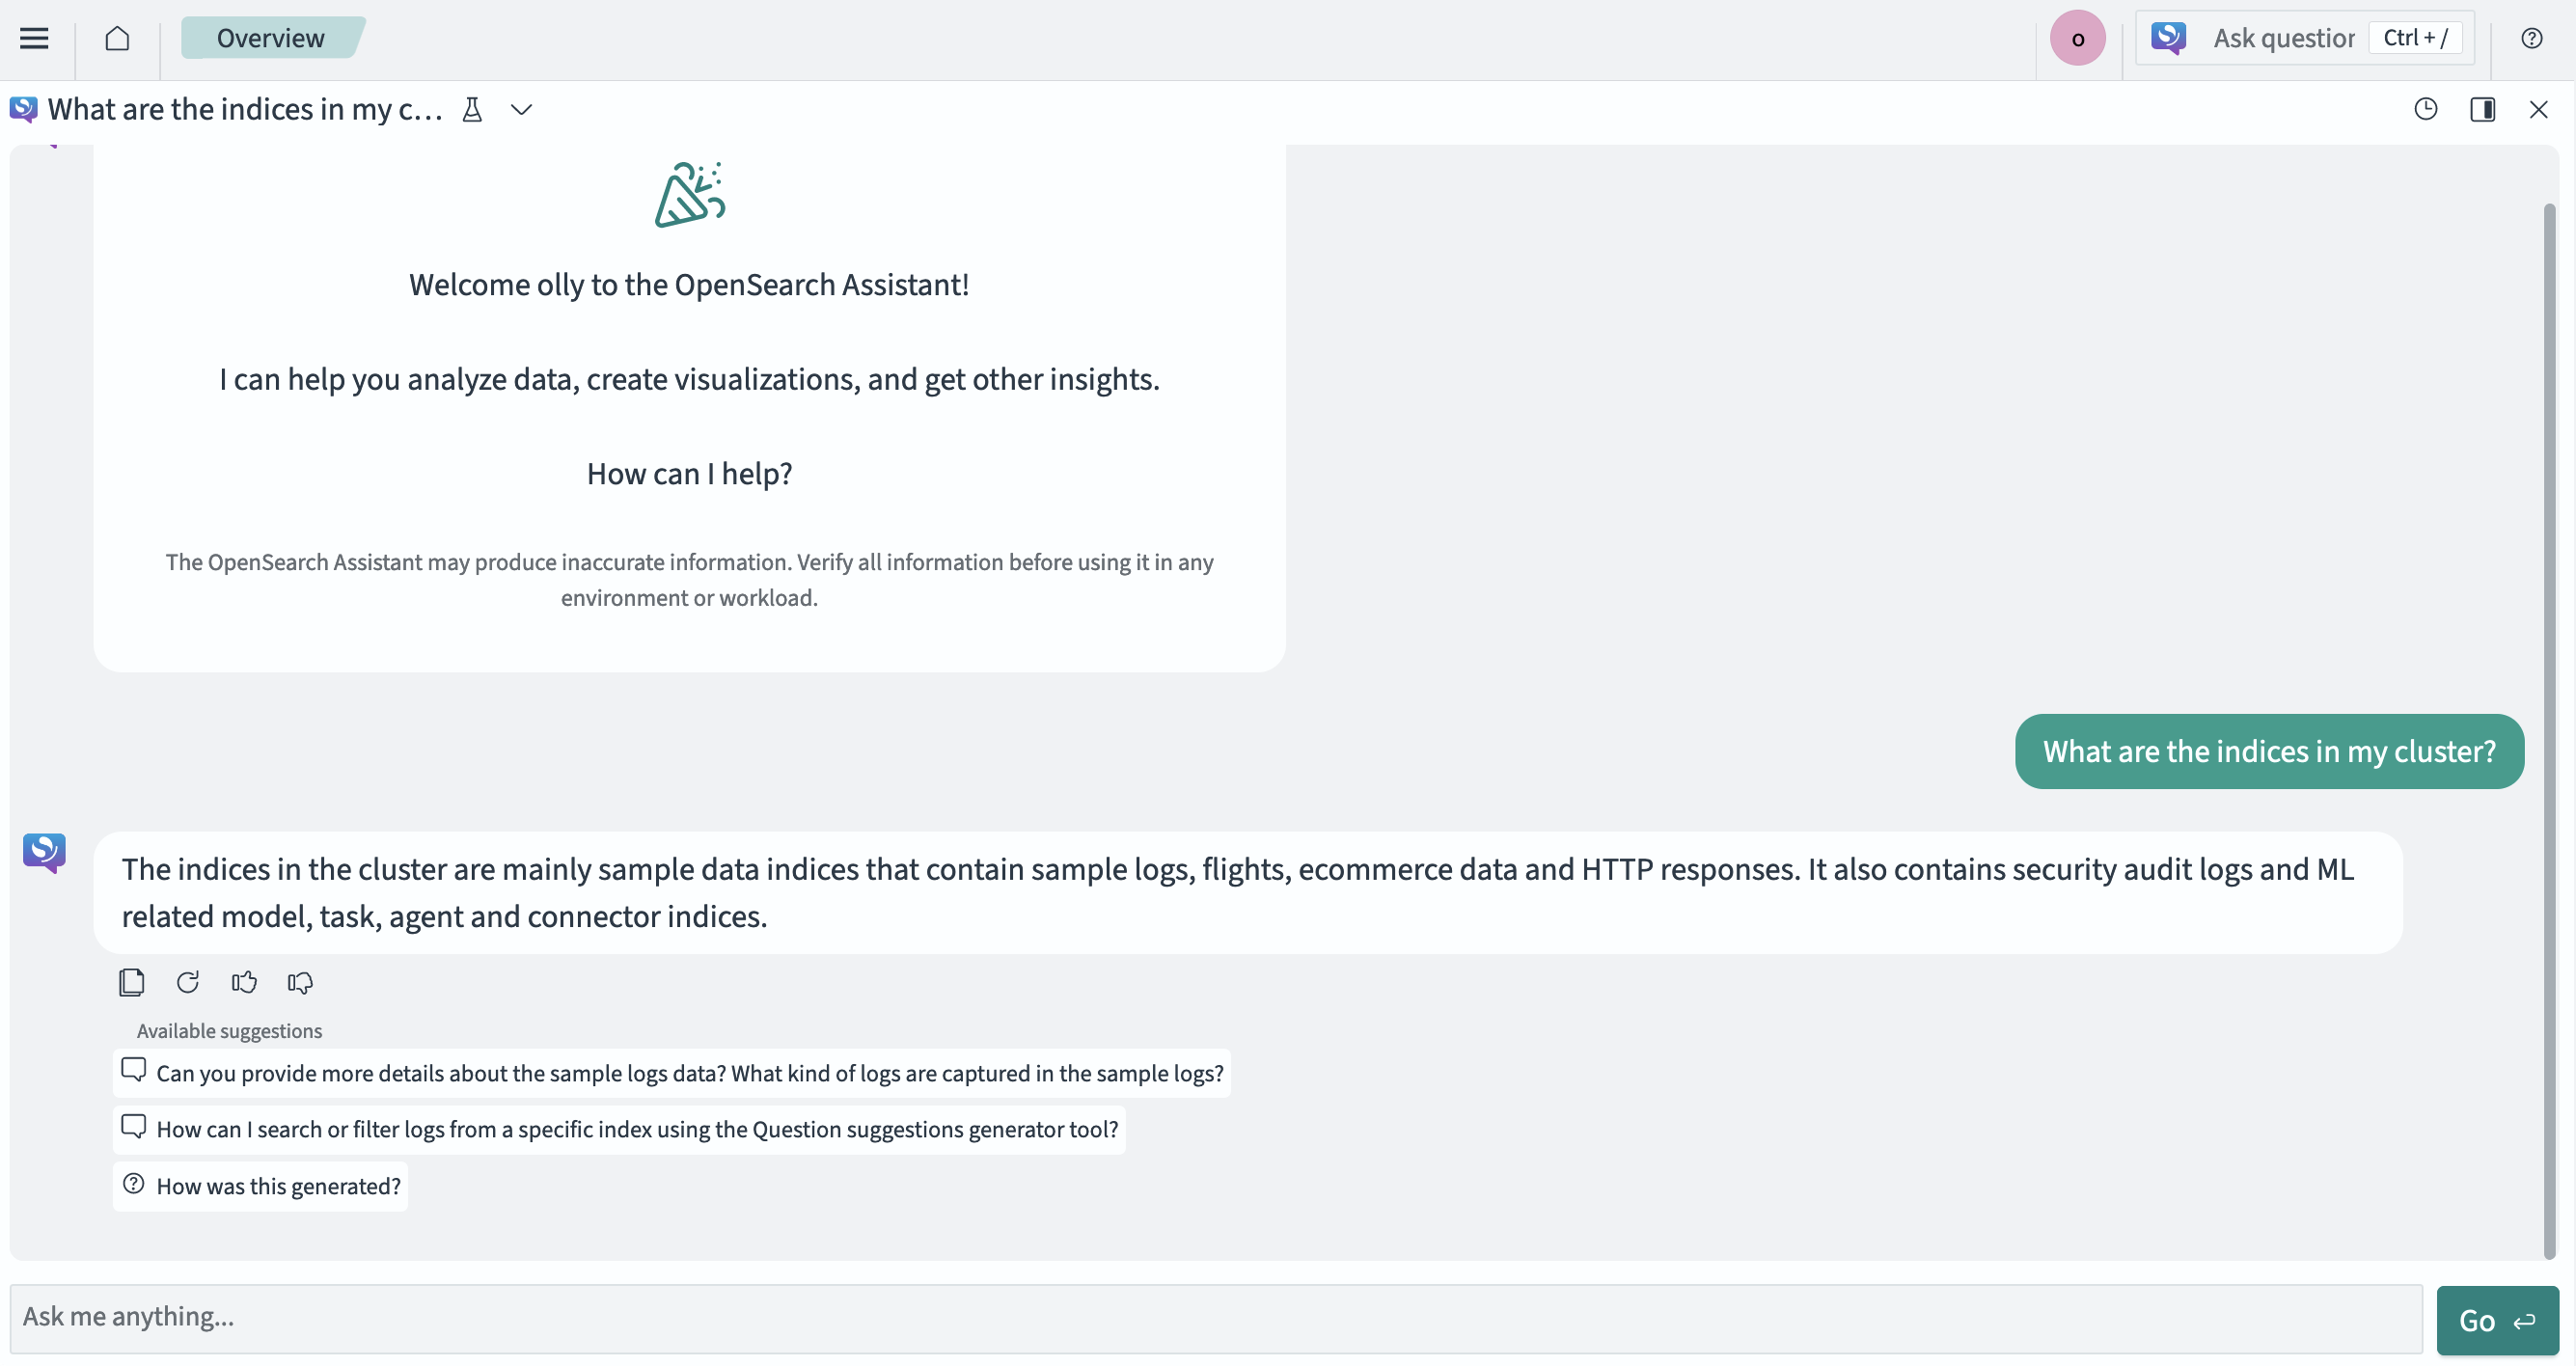
Start a conversation by entering a prompt in the Ask a question search box or by using the shortcut ctrl + /. Select Go to initiate the conversation. A response is generated.
The following screenshot shows an example prompt and response.
Regenerate a response
Beneath the response, select the regenerate icon to generate an alternative answer to your original question. The new answer will replace the previous one, appearing in both the interface and the chat history. A regenerated example is shown in the following image.

Suggested prompts
OpenSearch Assistant suggests prompts to help you get started, build upon your existing prompts, or explore other queries you may not have considered, among other reasons. Select a suggested prompt listed beneath the response field. A screenshot is shown in the following image.

Rate a response
To rate a response, select the thumbs up or thumbs down icon. A screenshot of the interface is shown in the following image. The feedback is stored in the additional_info field of the message index.
Response generation
Learn how a response is generated by selecting the How was this generated? option. This option is included within the available suggestions to help you understand which tools were involved in creating the response. If multiple tools were involved, each step will display the tool name and its input and output. This feature can be useful for troubleshooting. A screenshot is shown in the following image.

Resume previous conversations
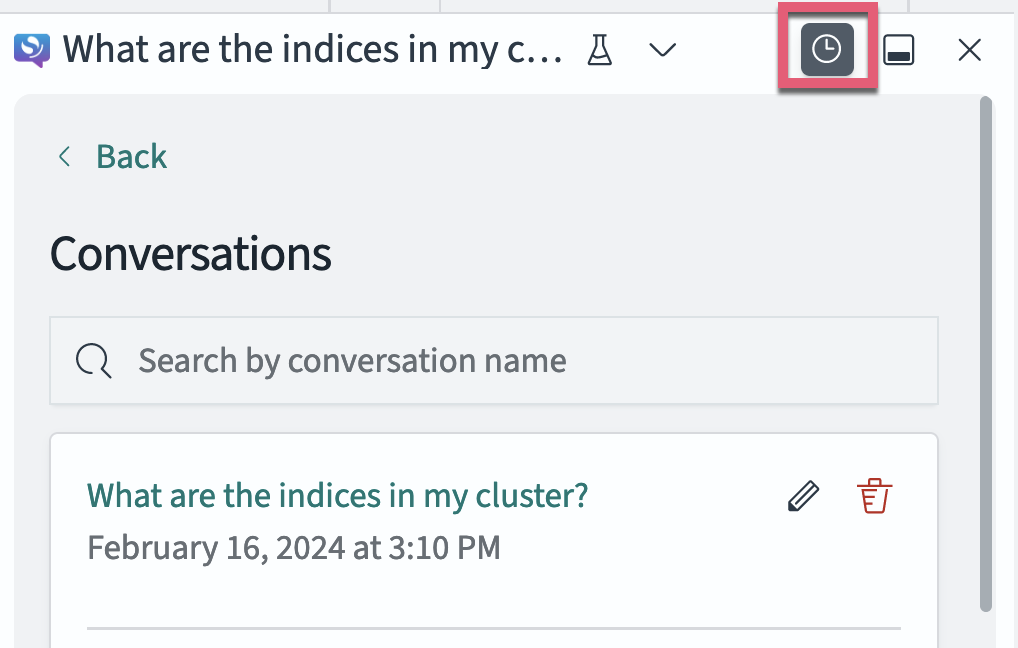
To view a previous conversation, select the clock icon to open the conversation history panel and display the chat history. The conversation history can also be searched by conversation name. A screenshot is shown in the following image.
Edit and delete previous conversations
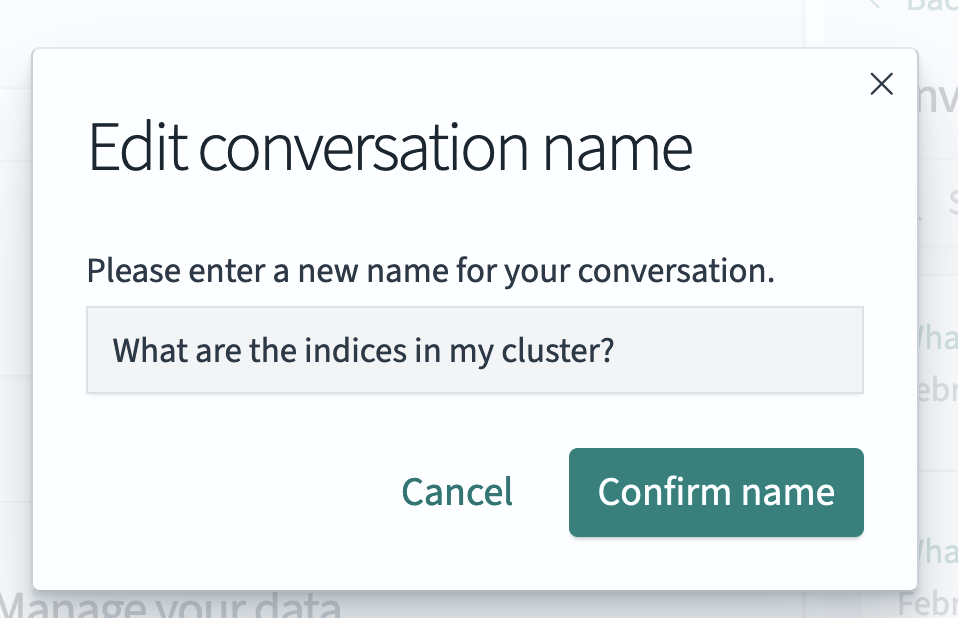
Select the pencil icon to edit a conversation name and rename it. Select the Confirm name button to save the new name. A screenshot is shown in the following image.
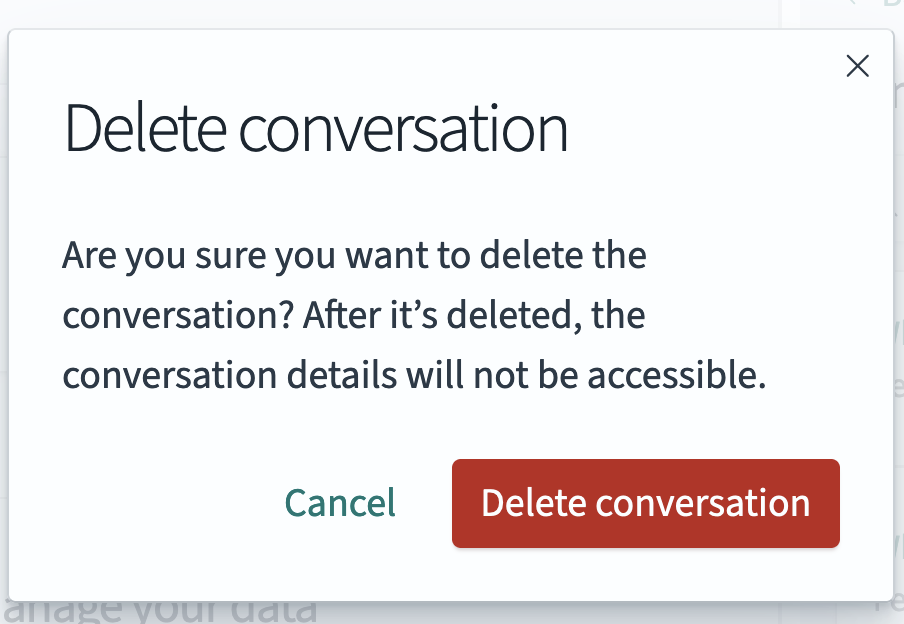
Select the trash can icon to delete a conversation. Once the confirmation dialog appears, select Delete conversation. The conversation is now deleted from your chat history. A screenshot is shown in the following image.
Share a conversation through Notebooks
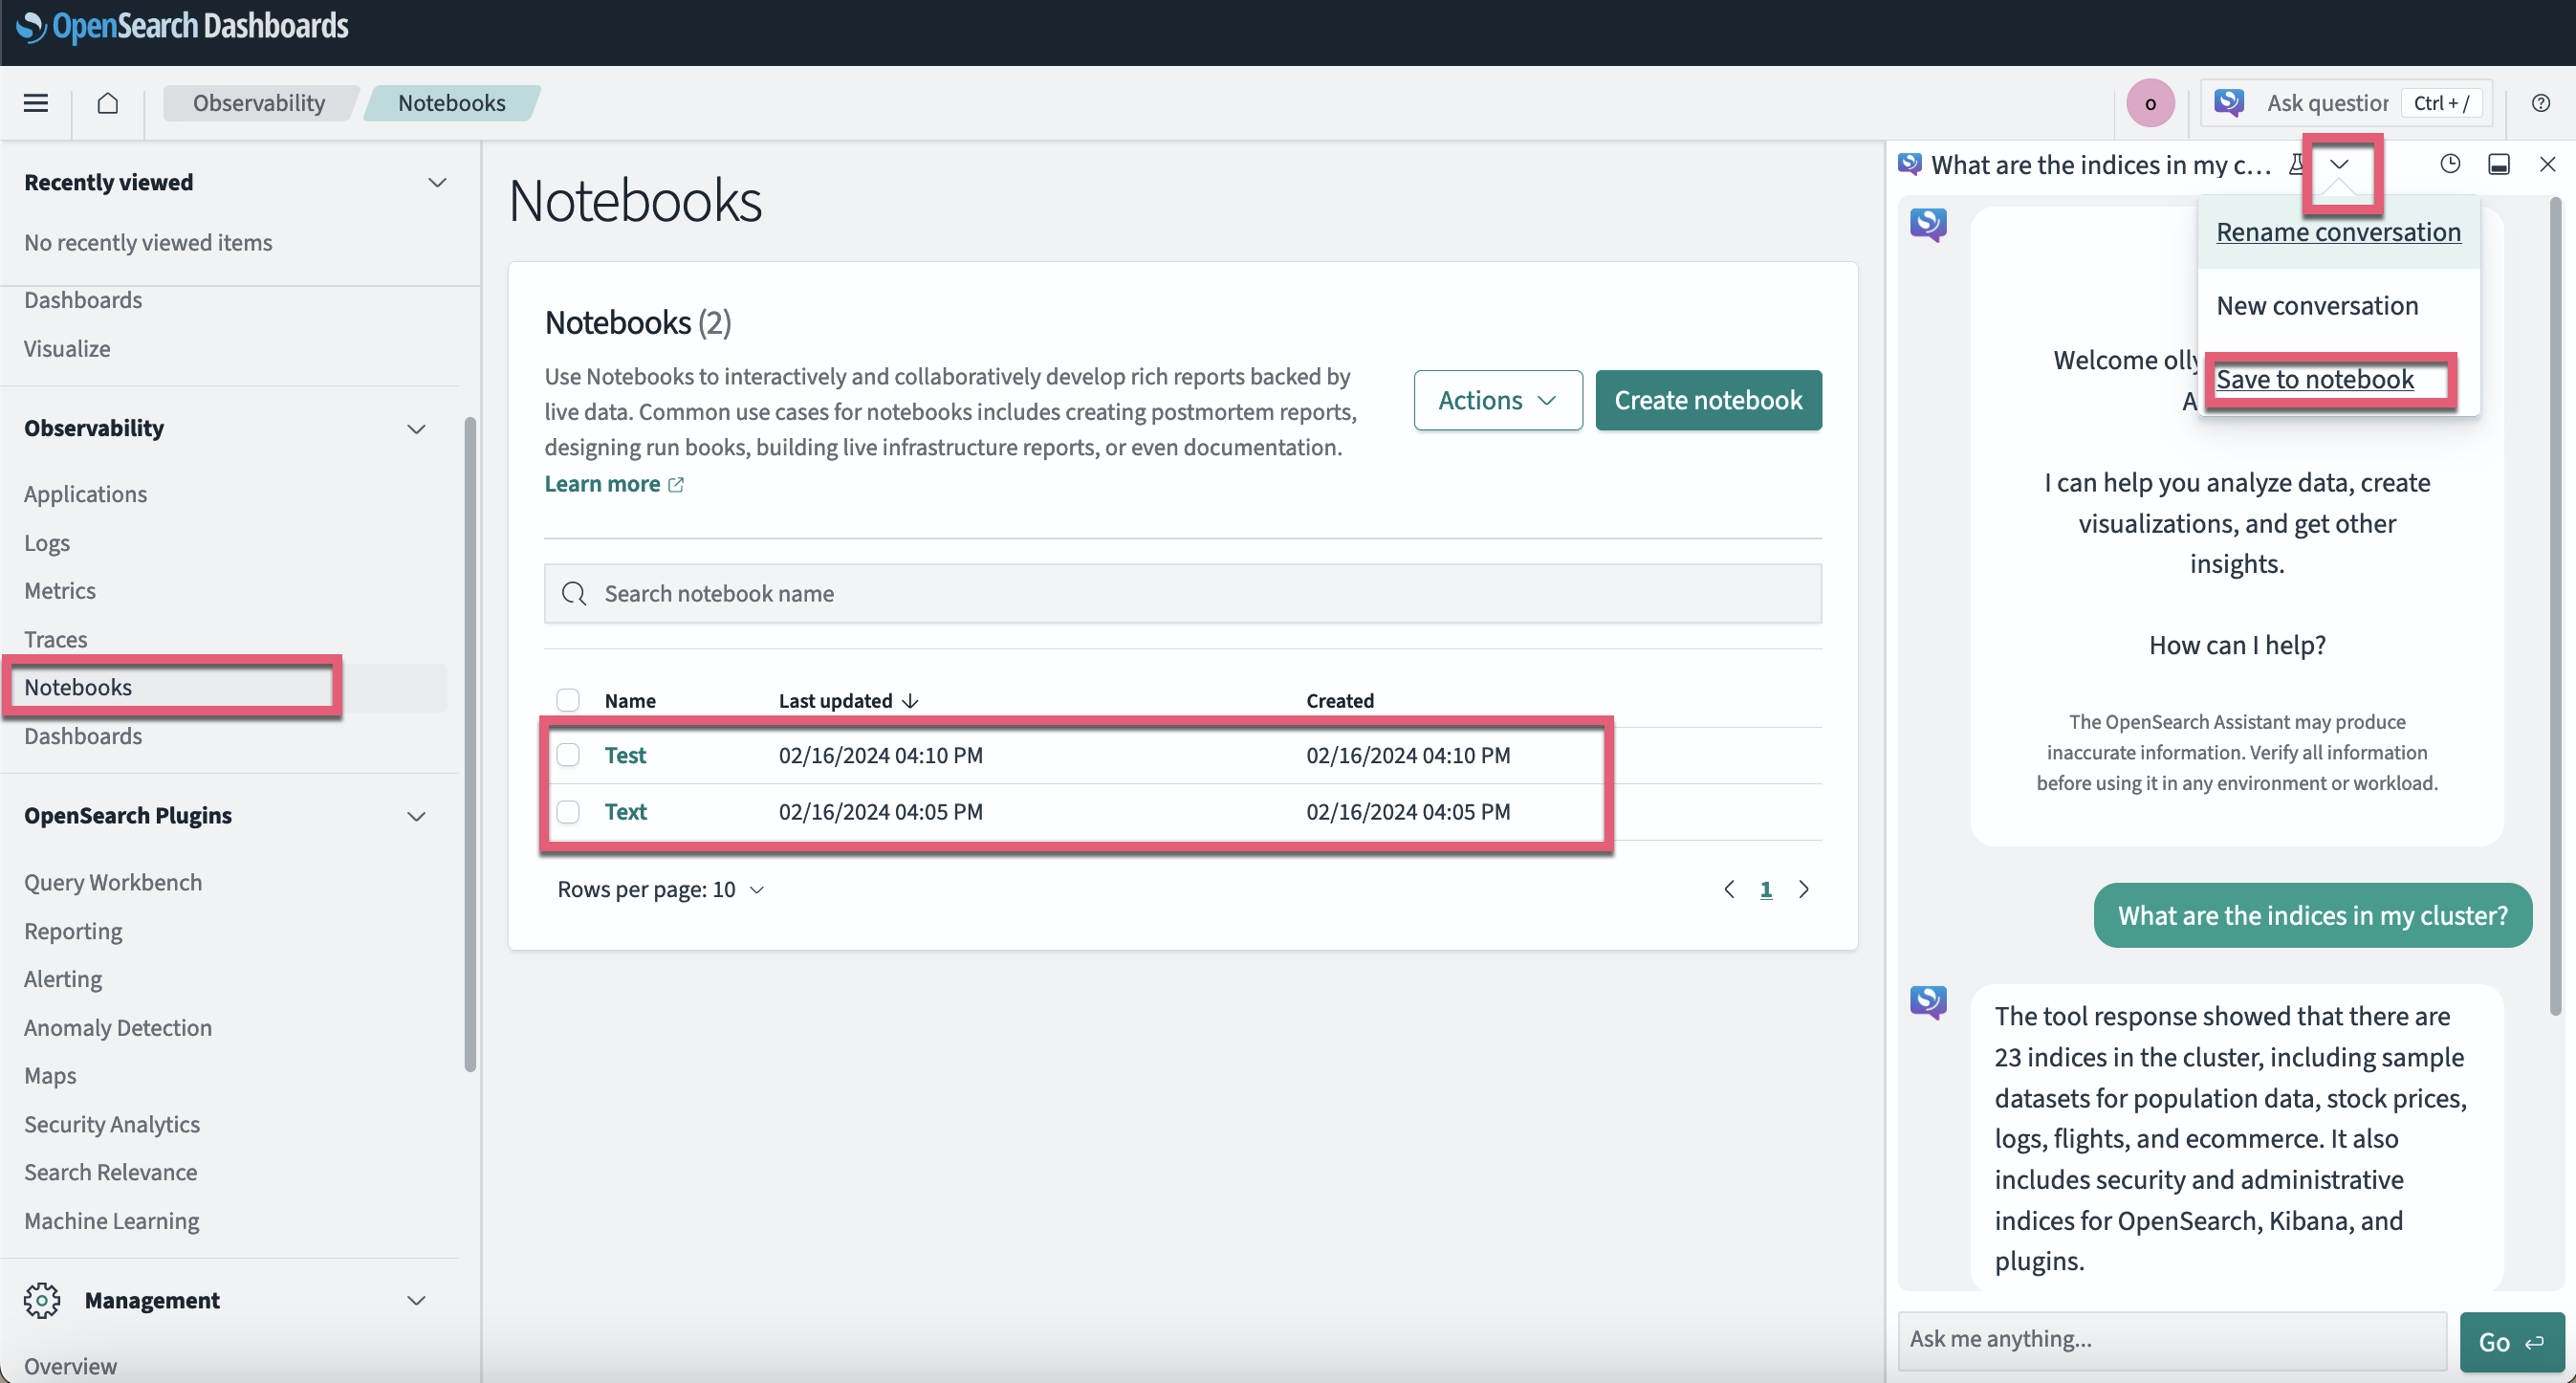
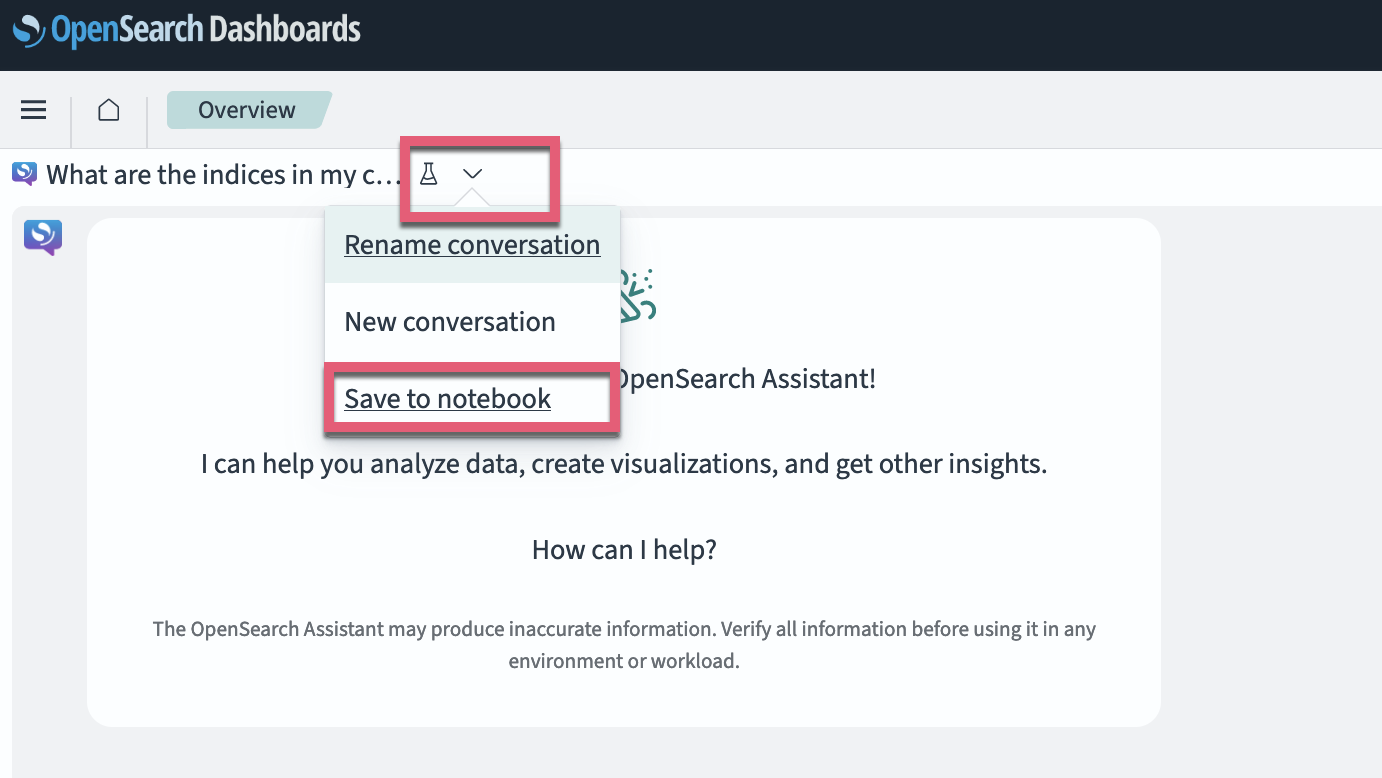
You can use Notebooks to save your conversations. To use this option, select Save to notebook from the dropdown menu to the right of OpenSearch Assistant. Enter a name for the notebook, then select Save. A pop-up message in the lower-right corner confirms the conversation has been saved.
All conversations (prompts and responses/questions and answers) between you and the large language model (LLM) will be saved to this notebook.
To open the saved notebook or view a list of other notebooks, select Observability > Notebooks from the OpenSeach Dashboards navigation menu.
A screenshot of the Notebooks interface with a list of saved conversations is shown in the following image.
The following screenshot shows a saved conversation, along with actions you can take for the saved conversation.
Related articles
- Getting started guide for OpenSearch Assistant in OpenSearch Dashboards
- OpenSearch Assistant configuration through the REST API
- Build your own chatbot