Index Management
Introduced 2.5
The Index Management interface in OpenSearch Dashboards provides a unified solution for managing common indexing and data stream operations. The interface allows you to perform create, read, update, and delete (CRUD) and mapping operations for indexes, index templates, and aliases instead of using REST APIs or YAML configurations for basic administrative operations and interventions, along with other operations such as open, close, reindex, shrink, and split indexes. The interface also provides you with the capabilities to run index status and data validation before submitting requests and compare changes with previously saved settings before making updates.
An example of the interface is shown in the following image.
Get started with Index Management using Dashboards
Step 1: Open Index Management
- Once you’re in OpenSearch Dashboards, select Index Management from the OpenSearch Plugins main menu. Then select Indices.
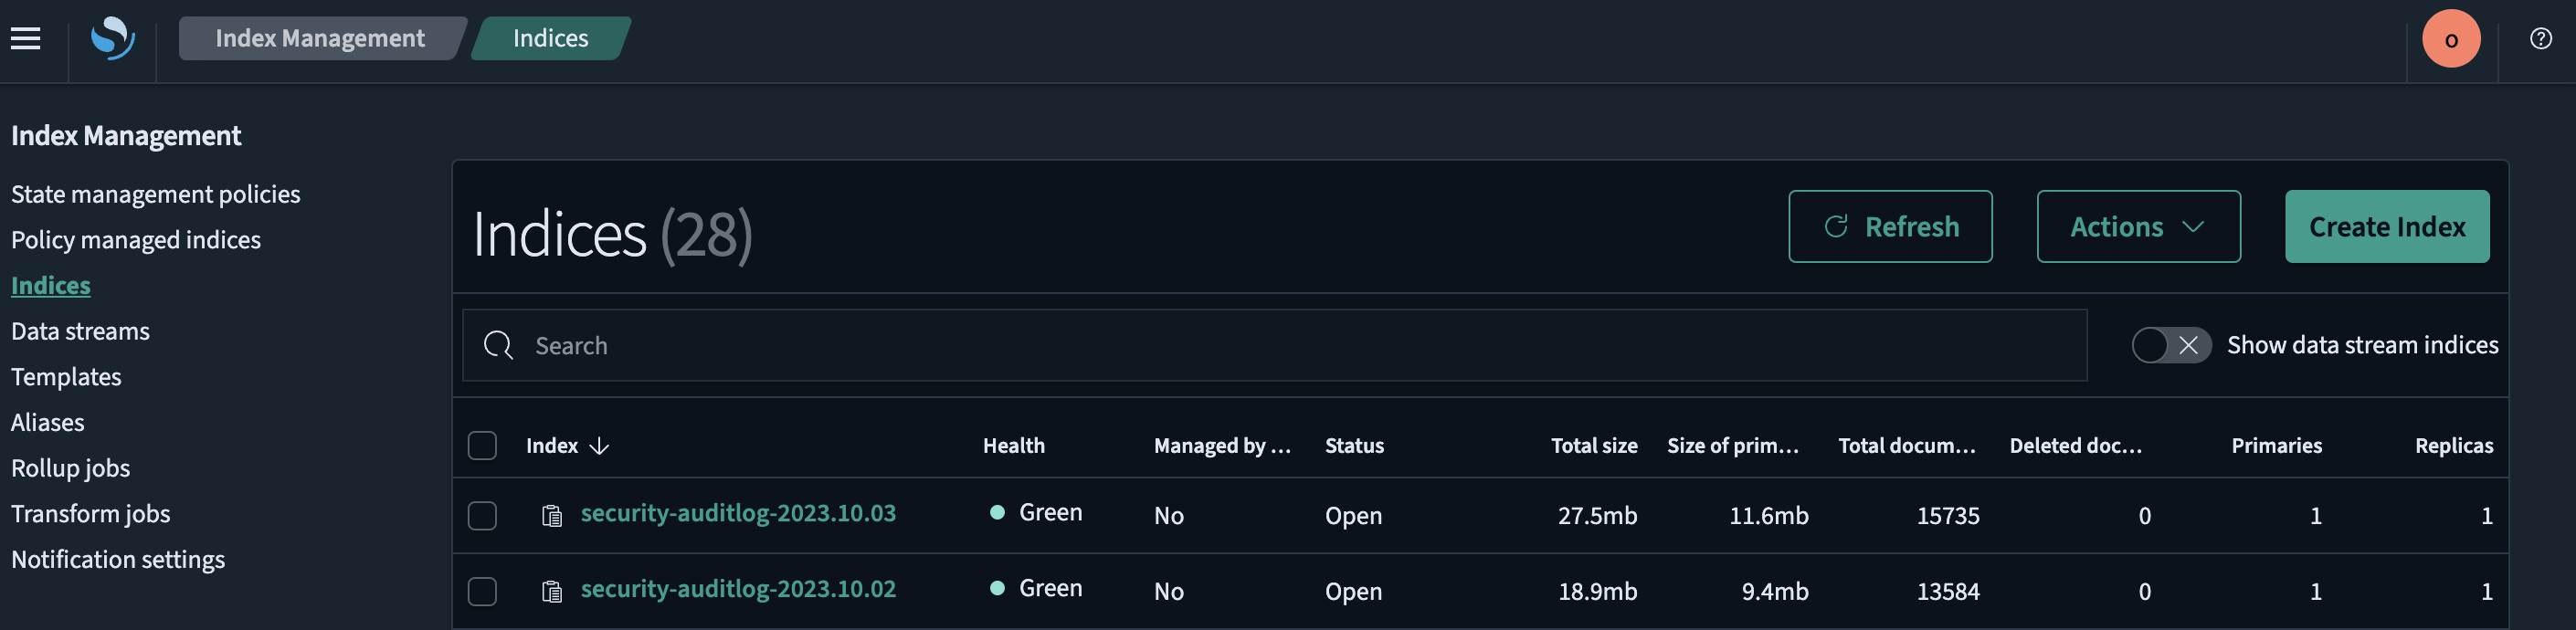
Step 2: View indexes
- In the Indices interface you will see a list of existing indexes in your OpenSearch cluster. The list provides information such as index name, health state, document count, index size, and other relevant details.
Step 3: Create an index
- To create a new index, select the Create index button in the upper-right corner. You will be prompted to enter the index name and configure the index settings, such as number of shards and replicas. Fill in the required information and select Create to create the index.
Step 4: Delete an index
- To delete an index, locate the index and select the checkbox next to it. Then select the Actions button and choose Delete from the dropdown list. Use caution when deleting indexes because this action is irreversible.
Step 5: Modify an index
- To modify the settings of an existing index, locate the index in the list and select its name. This takes you to the index details page. Here you can update settings such as the numbers of shards, replicas, and other advanced configurations. After making the desired changes, select Save.
Step 7: Refresh indexes
- To refresh an index, locate the index and select the checkbox next to it. Then select the Actions button and choose Refresh from the dropdown list.
Step 8: Filter and search indexes
- If you have a large number of indexes and want to filter or search for specific indexes, you can use the search bar located above the list of indexes. Enter the relevant keywords or filters to narrow the list of indexes.
Step 9: Additional operations
- Index Management provides additional functionalities such as creating index patterns, managing lifecycle policies, and configuring index templates. These options are available in their respective sections of the Index Management interface.